Nailster Guide universe

Nailster Guide universe Guides

  • Liquid Builder Gel swatches

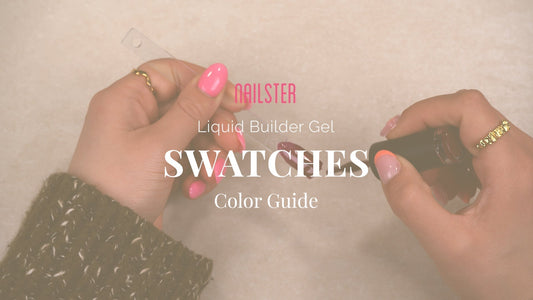
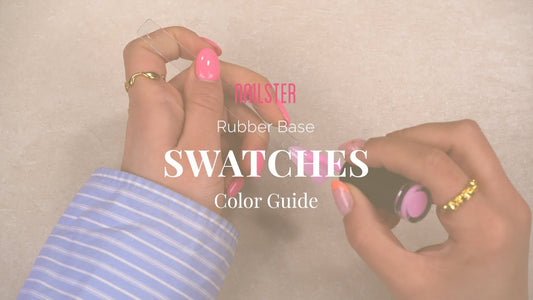
    Liquid Builder Gel swatches

    Curious to see the pigmentation of our Liquid Builder Gels and how the beautiful colors look in real life? In this video, we swatch all of our gorgeous shades so you can get a feel for their color intensity, coverage, and finish. You might just spot your new favorite color.

  • Liquid Builder Gel on Natural Nails

    Liquid Builder Gel on Natural Nails

    In this video, we show you step by step how to apply Builder Gel directly to your natural nails. Perfect if you want stronger, longer-lasting nails with or without colour.See how you can create a beautiful, professional result at home.

  • How to Apply Glitter

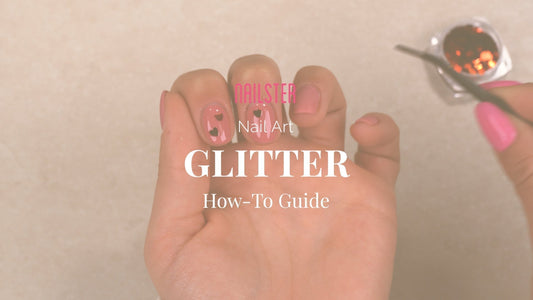
    How to Apply Glitter

    Applying our glitter is actually super simple, so don’t let the length of the guide overwhelm you – we’ll walk you through the entire process, from prep to fully finished nails. So let’s get started! If you’re already familiar with Gel Polish, you can skip to step 4.

  • Applying Pearl Gel Polish

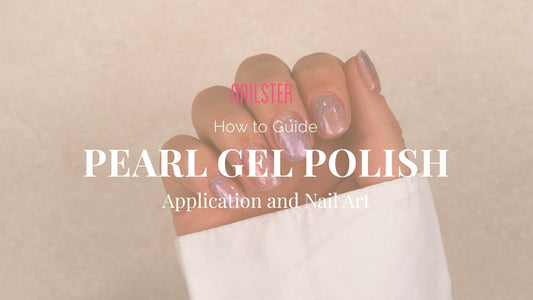
    Applying Pearl Gel Polish

    In this guide, we’ll walk you through both the application of our new Pearl Selection and our take on a marble nail art design. The process is actually super simple, because our Pearl Selection is a regular Gel Polish, so don’t be put off by the length of the guide – we’re simply taking you through the entire process, from prep to finished nails. So let’s get started! If you’re already familiar with Gel Polish and just want to see how we create the beautiful marble effect, you can skip the first three steps.

  • How to Apply Gemstones

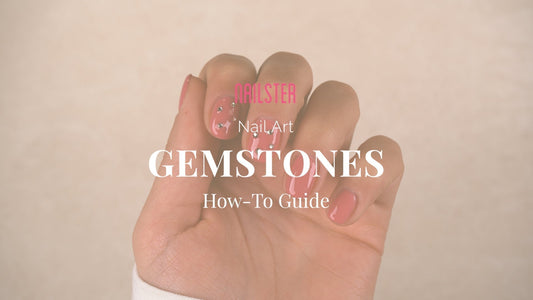
    How to Apply Gemstones

    Applying our Gemstones is actually very easy, so don’t feel overwhelmed by the detailed guide – we’re simply taking you through the entire process from prep to perfectly finished nails. So let’s get started.In this guide, we’ll focus on applying them over Gel Polish, but our Gemstones can be applied over any product. If you’re already familiar with Gel Polish, you can skip ahead to step 4.
  • Applying Nail Art Powder

    Applying Nail Art Powder

    The steps are the same when applying any of our Powders. In this guide, we’ll focus on applying our Pearl Powder, but the application process is the same whether you’re using Unicorn Powder, Clear Powder, Pearl Powder, or Chrome on your nails. We’ll get straight into applying Powders, so if you haven’t applied your base coat yet, you can follow one of our other guides first.

  • Applying Stickers

    Applying Stickers

    Applying our stickers is really simple, so don’t be overwhelmed by the detailed guide – we’ll simply take you through the entire process, from prep to the finished look. So let’s get started! In this guide, we’ll show you how to apply them over Gel Polish, but our Nail stickers can be applied over all our products. If you’re already familiar with Gel Polish and are ready to apply your stickers, you can skip the first three steps.

  • Nail Protectors

    Nail Protectors

    In this guide, we’ll walk you through how to use Nail Protectors. Nail Protectors are self-adhesive rubber protectors designed to shield the skin around your nails. They help prevent gel products from touching the skin during application, reducing the risk of skin contact with the product.
  • Nail Art with Nail Art Sponges

    Nail Art with Nail Art Sponges

    When you want to do your nails with our Nail Art Sponges, there are no set rules you need to follow. Our Nail Art Sponges can be used in many different ways, and this guide shows just one of the many looks you can create with our amazing Nail Art Sponges.Don’t let the length of the guide put you off — we’ll guide you through the entire process, from preparation to your finished nails. If you’re already familiar with Gel Polish and ready to create nail art, you can skip the first three steps.

  • 3D Flower with Polygel

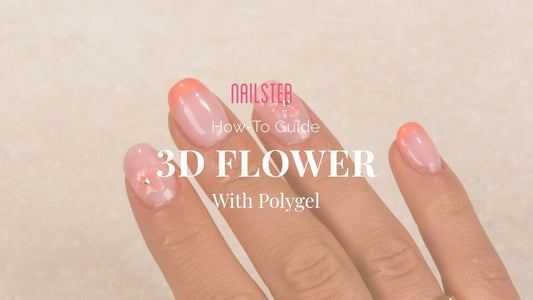
    3D Flower with Polygel

    This guide shows you how to create beautiful 3D flowers using our new Polygel formula. Please note that this guide does not focus on building up the nail or applying your base. For these steps, we recommend following our separate guides for applying Polygel, Builder Gel, or Gel Polish.Once your base is in place, you can follow this step-by-step guide to create 3D flowers. The only limit to the 3D effects you can create is your imagination – but here, we’ll start with a classic five-petal flower.

  • Nail Art with Blooming Gel

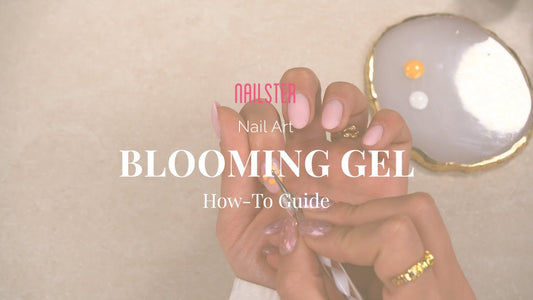
    Nail Art with Blooming Gel

    Below, we’ve put together a complete guide on how to use Blooming Gel, and it’s actually super simple, so don’t feel overwhelmed by the length of the guide – we’ll simply take you through the entire process, from nail prep to the finished result. So let’s get started! If you’re already familiar with Gel Polish and are ready to apply Blooming Gel, you can skip the first 3 steps.
  • How to Apply French Tips - 3 Ways

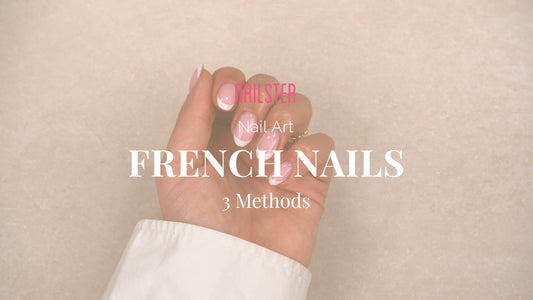
    How to Apply French Tips - 3 Ways

    When it comes to creating French tips, there are actually several ways to do it — and it’s not nearly as difficult as some might think. We’ve put together a guide with three different methods for creating a classic French tip. Don’t feel overwhelmed by the length of the guide; we’ll simply take you through the entire process, from prep to the final result. So let’s get started. If you’re already familiar with Gel Polish and are ready to create your French tips, you can skip the first three steps.

  • Refilling with Liquid Builder Gel

    Refilling with Liquid Builder Gel

    In this guide, you’ll learn how to do a Builder Gel refill properly, step by step. We’ll show you how to prepare the nail, fill in the grown-out area, and achieve a strong, beautiful result without starting from scratch.Perfect for anyone who wants to maintain their Builder Gel nails at home.

  • Polygel Extensions with Nail Forms

    Polygel Extensions with Nail Forms

    In this guide, we'll show you step by step how to extend your nails with Polygel using Universal Forms. With Universal Forms, you have full control over length and shape without having to rely on nail tips. At the same time, Polygel is easy to work with, as it doesn't run like some other gel products, giving you plenty of time to work at your own pace.

  • Nail Extensions with C-curve Tips

    Nail Extensions with C-curve Tips

    Dreaming of beautiful, long-lasting extensions with C-curve tips? In this guide, we’ll show you step by step how to prep your nails, apply the tips, and achieve a flawless result.We’ll cover everything from proper nail prep and fitting the tips to adding reinforcement, so your extensions last as long as possible. Let’s get started and create your perfect nail extensions!

  • Cleaning Your Brushes

    Cleaning Your Brushes

    Cleaning your brushes is essential for good nail hygiene and helps them last longer. That’s why, in this guide, we’ll show you how to clean your brushes so you can enjoy them for a long time to come.

  • Cleaning Metal Tools

    Cleaning Metal Tools

    Cleaning your tools is essential for maintaining good nail hygiene and extending their lifespan. That’s why, in this guide, we’ll show you how to clean your metal tools, so you never have to compromise your nail health.

  • Cleaning Nail Drill Bits

    Cleaning Nail Drill Bits

    Cleaning your nail drill bits is essential for maintaining proper nail hygiene and optimal performance. In this guide, we’ll show you how to clean your bits correctly, helping them stay effective and last longer.

24 / 44